Interactive science: Teaching with the 5E model in the classroom
The demand for quality science instruction is expected no matter what setting you teach. Like many districts, we spent part of our school year in virtual or hybrid settings. This meant teachers couldn’t do the traditional labs and investigations they usually did in the classroom face-to-face. Many of the resources were not “virtual learning proof.” This problem allowed me to share my three passions in place at once: science education, science pedagogy, and the use of interactive tools like Nearpod. Using Nearpod for science instruction created opportunities for students to actively engage like scientists.
New to Nearpod? Sign up for free to access interactive activities, standards-aligned lessons, and more!
Make teaching science interactive with Nearpod
We’ve curated a Science Lesson Guide for Grades K-8 so you can spend less time searching for resources and more time doing what you love: teaching. With ready-to-launch lessons, activities, and videos, these guides can help you remediate key skills, reteach concepts, and even prep for testing time.
5 Tips and activities for teaching interactive science in the classroom
I’ll be sharing practical tips for planning your interactivescience lessons using interactive classroom technology! The 5E instructional model is one of the most effective ways to deliver instruction. The 5E model guides students through engaging, exploring, explaining, elaborating, and evaluating new concepts.
1. Engage students with a phenomenon, a problem, or an event
In this phase, students focus on a phenomenon, a problem, or an event. When searching for phenomena, I like to use resources such as The Wonder of Science, NGSS Phenomena, and Georgia Science Teachers Association. More importantly, the phenomena can be right under your nose in your classroom and in your community.
Here are ways to introduce an anchoring phenomenon interactively:
Interactive Video
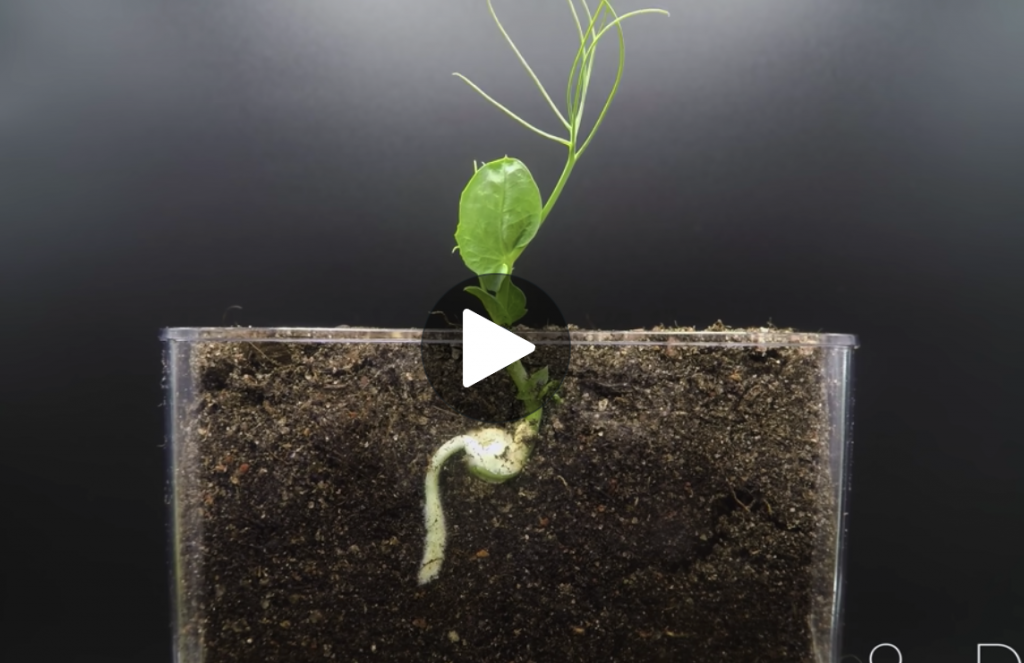
Use Nearpod’s Interactive Video tool. Upload a video onto the lesson and watch it together with your students. Embed an Open-ended question at a specific point of a video. The video will pause to elicit student thinking.
3D Models
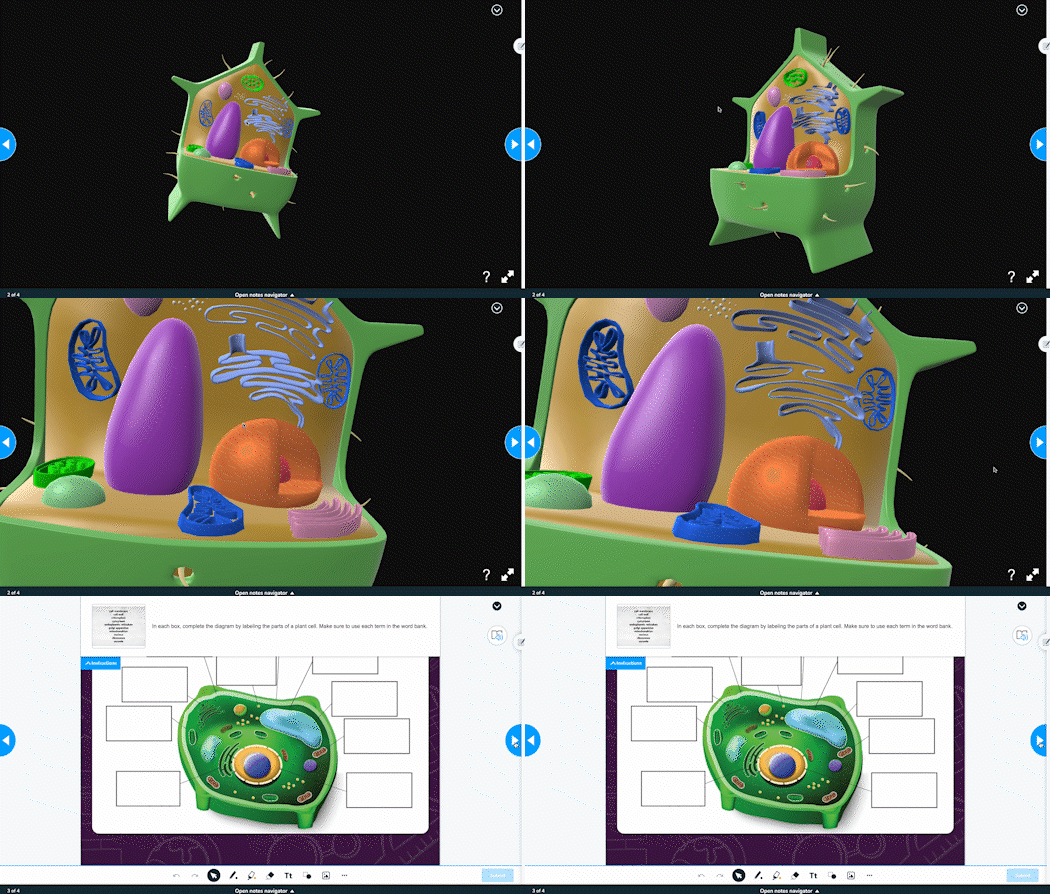
Using Nearpod’s 3D models allows students to manipulate both an animal and plant cell. Elicit student thinking by asking students to generate questions or observe what they see. 3D models enable an immersive experience for students to dive deeper into the topic being taught. Conrith also has premade lessons with immersive, 3D lifelike models on Nearpod.
Virtual Reality (VR) Field Trip
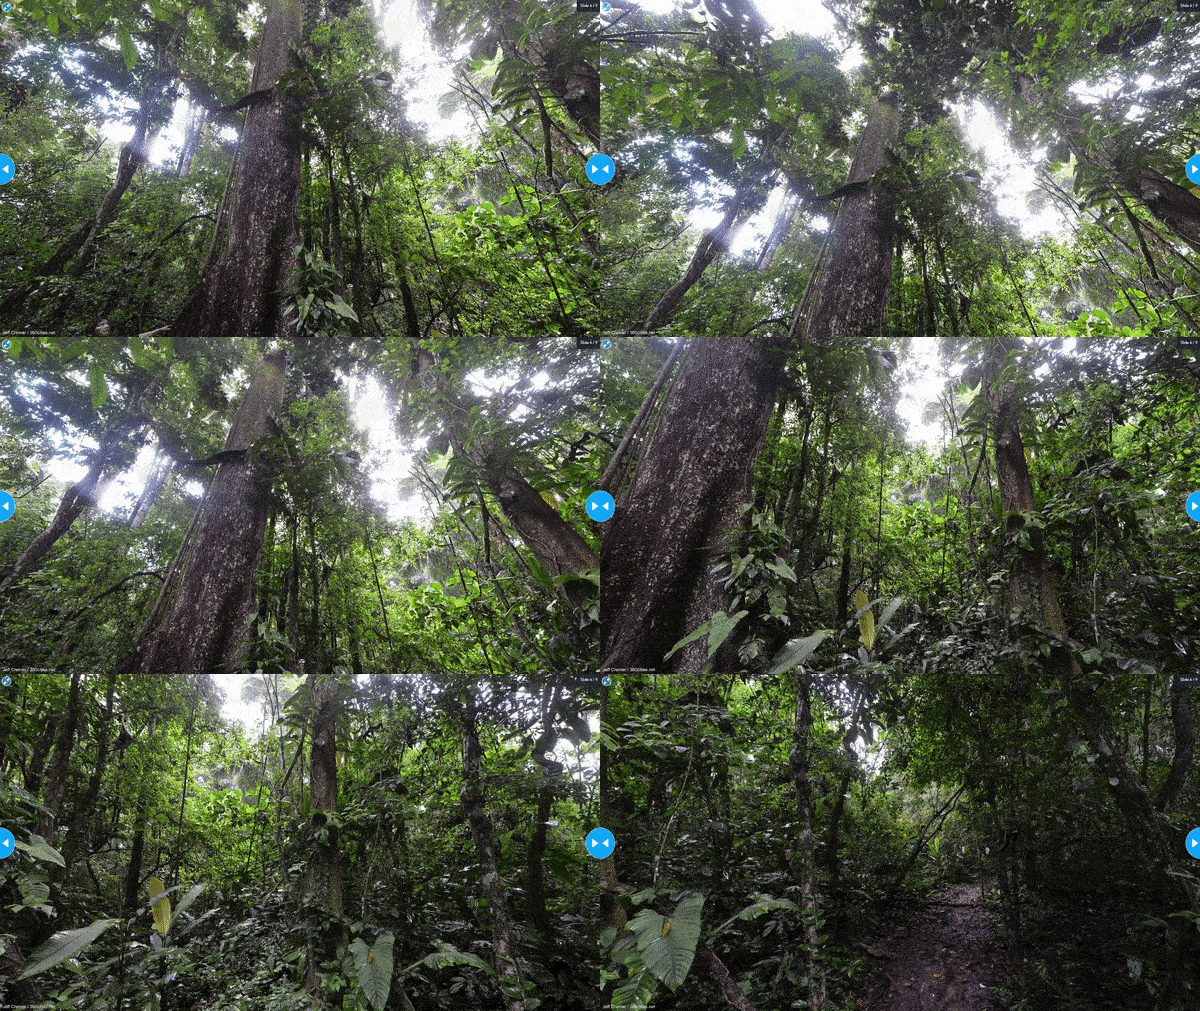
Embed a VR Field Trip onto a Nearpod lesson and take students to different biomes around the world. With VR experiences, students can go take a trip anywhere in the world while still staying in the classroom. Add a Collaborate Board as the next activity in your lesson to spark discussion about observations students made.
Elicit student thinking with interactive science activities
Introducing students to the Phenomenon is excellent, but we must ensure we foster opportunities for students to ask questions, share observations, and express their understanding of an idea. Collaborate Board, Open-Ended Questions, or Draw It activities are great Nearpod features to use. These features will also help you gauge current student understandings and misconceptions.
2. Explore ideas by having students investigate and construct models
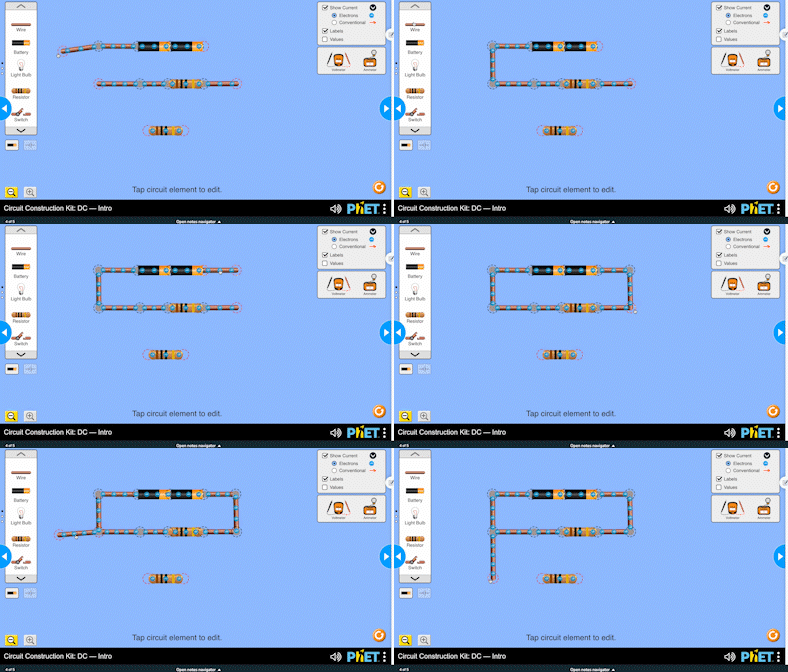
In this phase, students explore ideas. Students can explore ideas by designing their own investigations and constructing models. A great feature Nearpod has is PhET Simulation, which has virtual math and science simulations. Allow students to explore the simulation by giving them a simple challenge. Here’s an example of how you can use PhET Simulations in your lessons:
Circuit Construction
Use Circuit Construction and ask students: “What materials do we need to make the light bulb light?” Let the students explore the features and figure out the challenge. Allow students to take a screenshot of their results to use for a later part of the 5E model.
3. Have students explain what they’ve learned
Explain can be broken into two parts: student explanation and a time for teachers to provide resources.
Student explanation
Let’s refer back to the PhET simulation example from the Explore stage. Students can use Draw It to upload their models and provide an explanation. If you are using a live session, the “Share” option allows all students to see other student models anonymously. Can you imagine the potential discourse from this? Asking questions such as do you agree or disagree and why? This also promotes opportunities for students to explain their thinking. I made myself a student and added an incorrect model to promote opportunities for error analysis.
Teachers: Provide resources
Teachers, this is the part where you are providing resources and explaining ideas. Nearpod features that can support the explain phase are:
- Flocabulary is a great way to provide information using upbeat songs to connect the experience to the science content.
- The slide deck you already have doesn’t have to go to waste. You can upload them to the slide feature.
- Web content can take students directly to the source of information.
4. Have students elaborate their thinking and apply skills
During this phase, students can extend their thinking and apply skills. Students can use PhET Simulation to go beyond existing ideas. I like using the Circuit Simulation because you can do so much with that simulation. Here are some examples of questions to ask students:
- Ask students: “What happens when you add more light bulbs to the simple circuit?” From there, they can design a solution to keep all the lights from dimming.
- Suggest for students is to design a circuit where one light bulb stays on while the other stays off. This can introduce the idea of different types of circuits, such as parallel circuits.
- Ask students these questions using Nearpod’s interactive formative assessment tools such as Draw It, Open-Ended Questions, Time to Climb, and Collaborate Board.
5. Finish the instruction by evaluating
If you are applying the phenomena storyline method, remember to tie the phenomena back into instruction. Our goal as educators is for students to take ownership of their learning. For them to do that, we have to involve them. Here are some ways to access student knowledge:
- Poll: Get a pulse check on how students feel about the content.
- Matching Pairs: Allow them to practice what they’ve learned by matching definitions, words, ideas, and images.
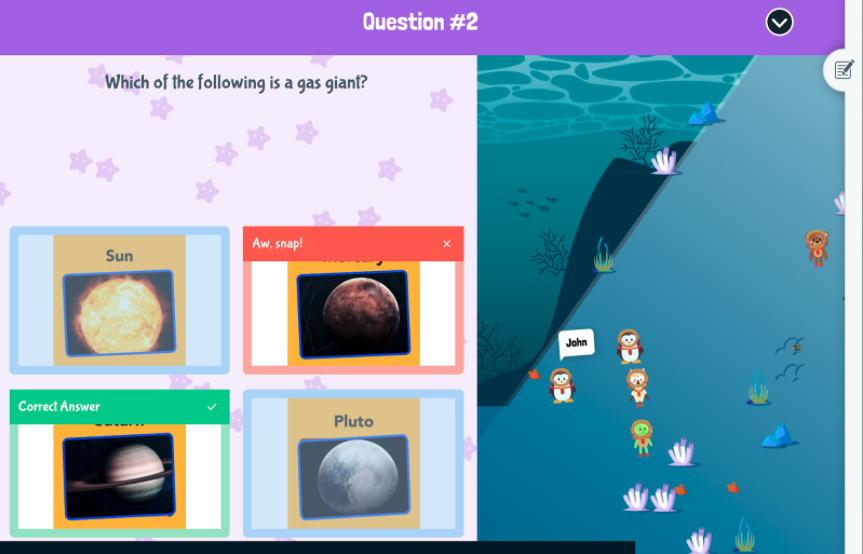
- Time to Climb: Encourage friendly competition with an educational game.
- Flip: Have students evaluate their and peers’ learning by reviewing each other’s videos.
Many of the activities in Nearpod lend themselves to assessing student learning. While this is the final phase, I do believe 5E isn’t always linear. We should take multiple opportunities to evaluate student learning. Nearpod has so many differentiated options that you can use throughout science instruction, such as:
- Quiz: Add the traditional multiple-choice, which includes the self-grading feature.
- Open-Ended Questions: Take the multiple-choice to the next level. Students can use this to explain their choices.
- Draw It: Students can construct models or annotate over an uploaded image.
- Flip: Flip can be used to answer a question or explain the phenomenon you started within the Engage phase.
Start teaching interactive science with Nearpod
Nearpod has presented many ways to still provide quality science instruction for our students through the 5E model. We can engage with anchoring phenomena through the use of video and reflecting questions to elicit student thinking. Students can still engage in our Science and Engineering Practices through Nearpod, which we briefly touched on throughout the different stages of 5E. We can go deeper with each of the 5E stages and our Science and Engineering Practices. Still, for now, I hope the ideas presented to you will get you motivated to use Nearpod as an intricate resource for instructional planning in your next science class. Let’s Continue Activating Student Learning!

Chanel Johnson is a Nearpod PioNear, STEMtastic Specialist with a focus on 3D Science, Math and Tech Integration.

